Print on Backpack: Your 2026 Customization Guide
You're probably here because someone on your team said, “Let's do backpacks,” and now you're trying to avoid ordering a few hundred expensive mistakes.
That instinct is right. A backpack sits in a very different category than a tee or tote. People drag it through airports, stuff it under train seats, overload it with laptops, and wear the same panel against jacket zippers every day. If your print on backpack choice looks good in a mockup but fails after real use, the brand signal flips fast. What was meant to feel premium starts reading cheap.
That's why the question isn't just how to put a logo on a bag. It's how to choose a print method, material, placement, and finish that still looks intentional after months of use. In a category this visible, durability is part of the design.
Table of Contents
Why Most Custom Backpacks End Up in a Drawer
Most bad branded backpacks fail before anyone wears them outside.
The box lands. You open it. The fabric feels thin or weirdly shiny. The silhouette is generic. The logo sits too high, too low, or dead center in a way that feels like conference leftovers. Then you touch the print and it has that thick, rubbery hand feel that already looks tired.
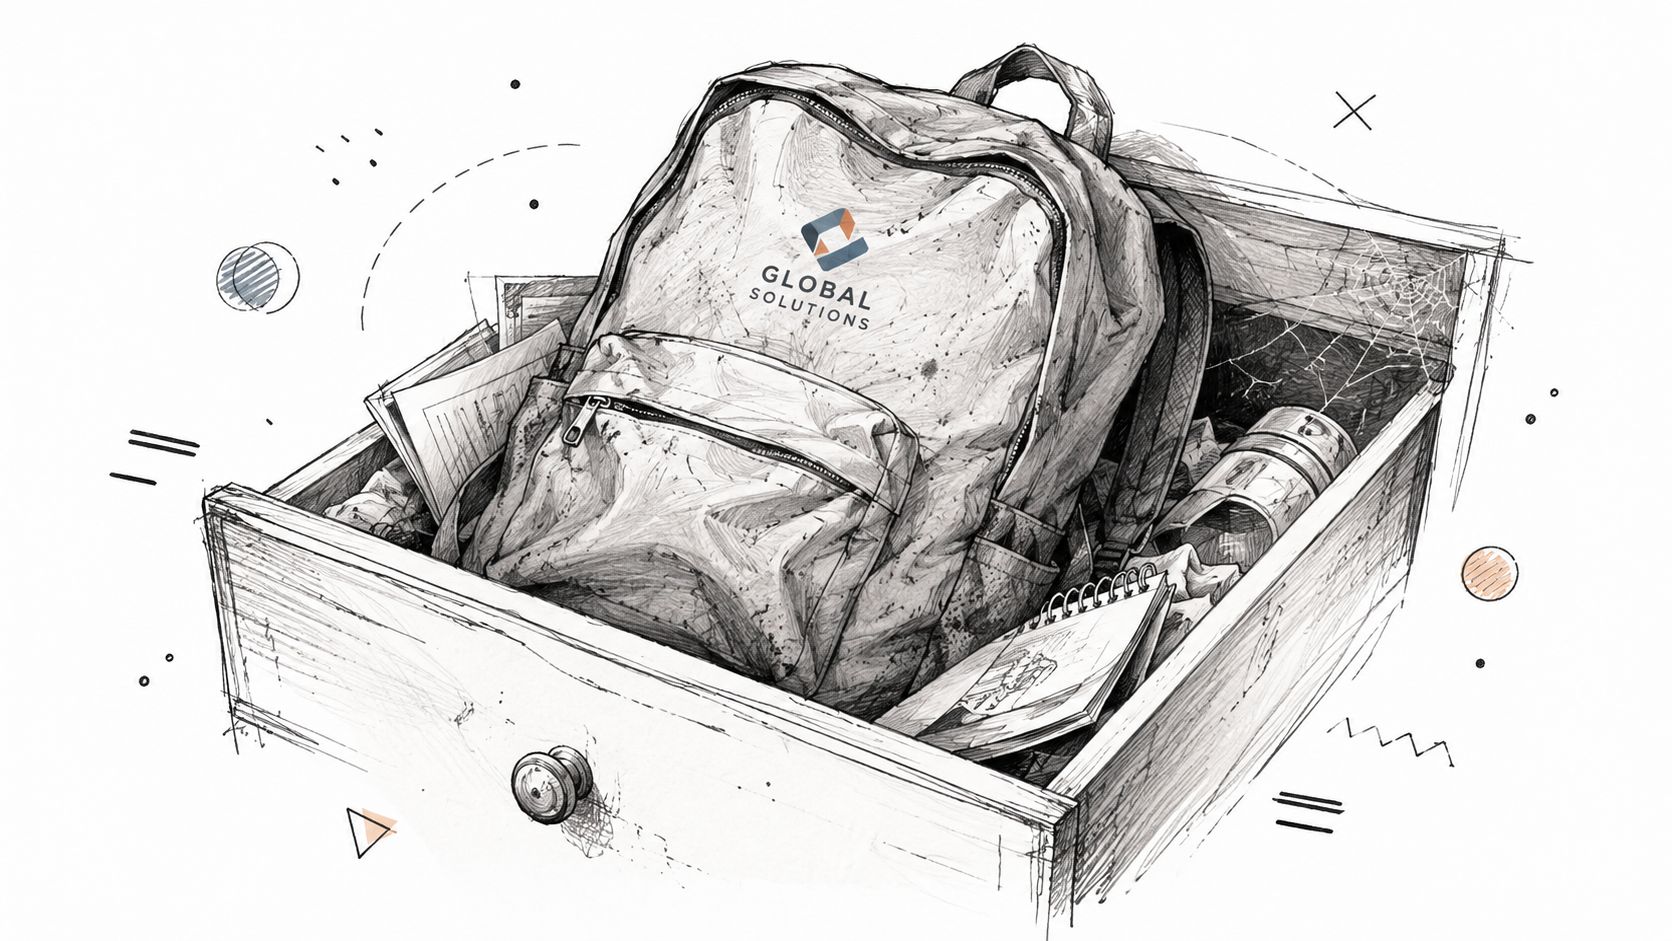
That's how merch ends up in storage. Not because backpacks are a bad idea, but because the bag was treated like a logo surface instead of a product. Teams spend time debating colorways, then approve the cheapest blank and the most convenient decoration method. The result feels promotional, not wearable.
A good backpack works differently. It becomes part of someone's routine. It gets used for commuting, offsites, flights, coffee shop work sessions, and weekend carry. That turns it into one of the few branded items with real repeat visibility. If you're already thinking about branded travel accessories for modern teams, backpacks sit near the top of the list because they combine function, frequency, and surface area.
Where most projects go wrong
- They choose by mockup only. A flat digital proof can't show how a print behaves on coated fabric, curved panels, or stitched seams.
- They over-brand the front panel. Big logos can work, but oversized marks on the wrong bag usually make the piece feel like a sponsor freebie.
- They ignore wear zones. The cleanest placement on day one can be the worst placement after daily friction.
A backpack isn't judged on unboxing day. It's judged after the third trip, the tenth commute, and the first time someone stuffs it under an airplane seat.
The brands that get this right don't just customize a bag. They build a useful object that happens to carry their identity.
The Core Printing Methods Explained
A backpack print lives a harder life than a tee print. It gets flexed, rubbed, packed tight, dragged under seats, and exposed to weather. The method determines how the mark looks on day one, and how it ages after six months of real use.
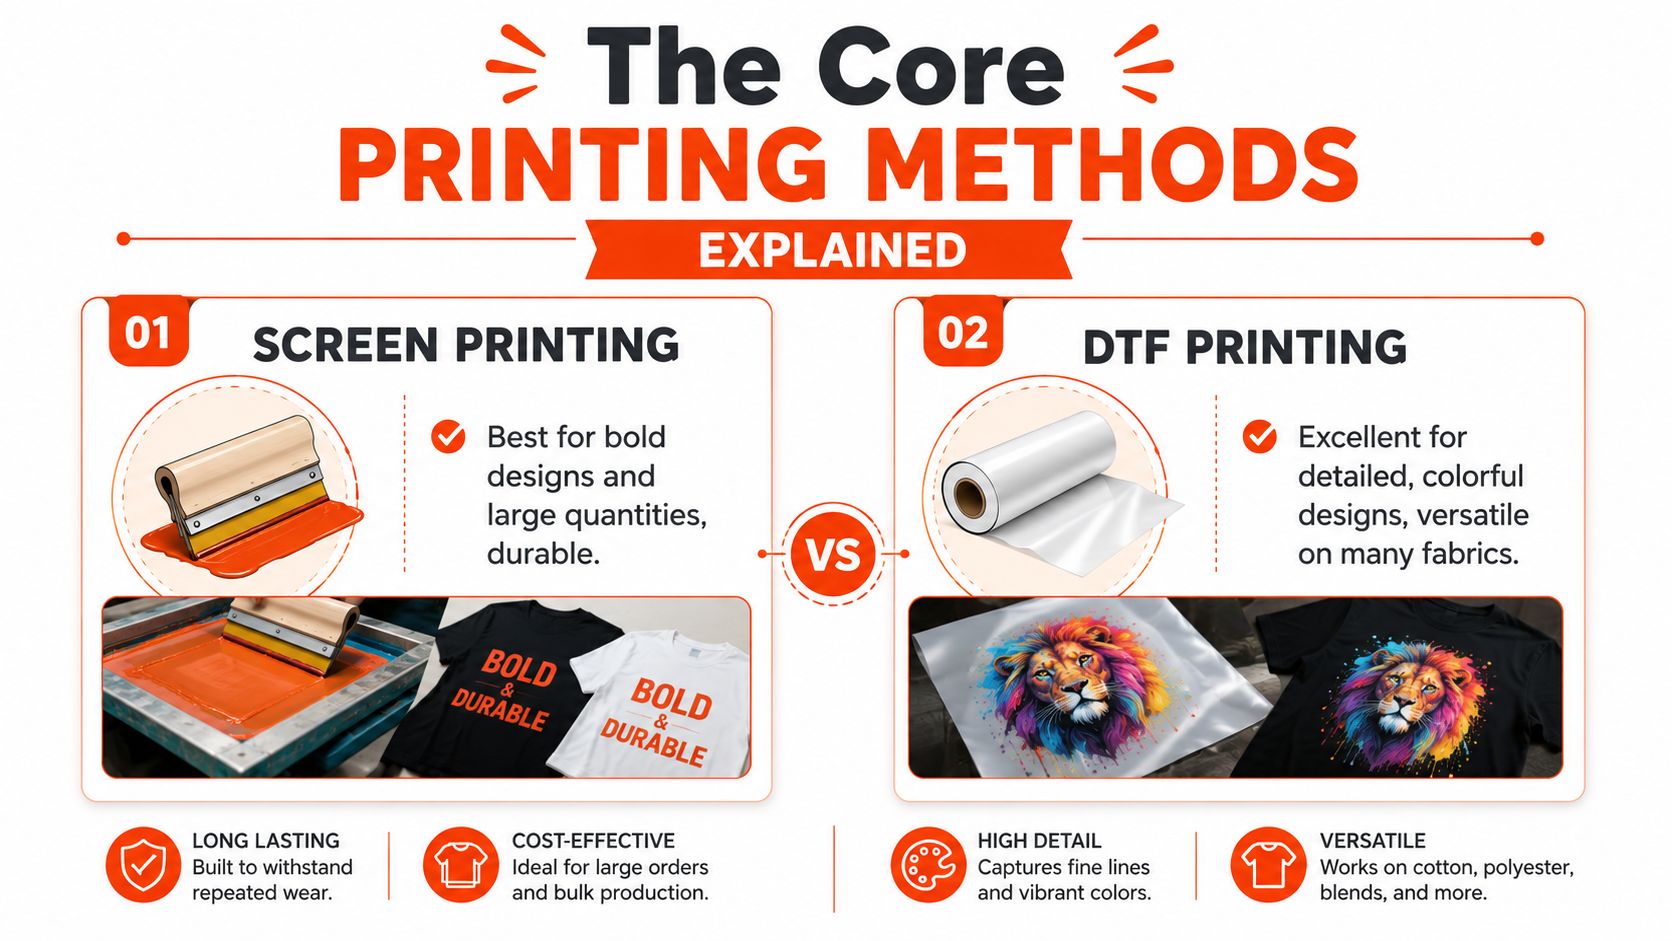
The mistake is choosing by visual only. Premium merch teams need to judge print methods on four things at once: surface feel, flex tolerance, abrasion resistance, and whether the decoration still feels intentional after the bag picks up wear.
Screen printing
Screen printing gives a sharp, graphic result and still works well on the right backpack. It is strongest with simple logos, limited colors, and placements that stay relatively stable during use.
The risk is ink build. Heavy plastisol deposits can create a stiff patch on a bag that is supposed to bend. On a structured promo backpack, that may be acceptable. On a technical commuter bag or a premium ripstop shell, it usually reads cheap fast. Cracking, edge wear, and a boxed-in feel are common when the printer forces opacity instead of respecting the fabric.
Use it when: the artwork is simple, the panel is stable, and the ink deposit can stay controlled.
Avoid it when: the print sits on a high-flex zone or the fabric needs to keep a soft, performance-oriented hand.
DTF
DTF solves a different problem. It handles detail, tight registration, and multicolor artwork without the setup burden of traditional screen printing. That makes it useful for smaller runs or graphics that would be inefficient to separate.
It also leaves a visible layer on the surface. On the right artwork, that is fine. On the wrong bag, it looks like a transfer sitting on top of a product instead of branding built into it. I usually like DTF most for compact marks, secondary graphics, and controlled placements where the edge of the transfer does not dominate the panel. For a closer look at the process, see this guide on what DTF printing is and where it fits best.
A quick production demo helps if you haven't seen these methods in motion.
Dye sublimation
Sublimation is usually the cleanest-looking option when the substrate allows it. The color enters the material instead of forming a separate layer on top, so the print keeps the fabric lighter, smoother, and easier to flex.
That difference shows up over time. Bags crease. Panels bow under load. If the decoration moves with the shell, the bag tends to age more gracefully. Sublimation is especially strong when the design needs to feel integrated rather than applied.
Best fit: polyester-based bags and projects that need broad color coverage or all-over graphics.
Weak fit: natural fibers or any material that does not support the process.
Embroidery
Embroidery gives a premium signal fast. It adds texture, depth, and a more permanent brand presence than many printed methods. On the right backpack, a small stitched wordmark or icon can look far more expensive than a large print.
But stitch has a cost. Needle penetration affects the shell. Dense fills can stiffen the panel and distort lighter materials. On bags built for weather resistance or clean technical lines, embroidery can work against the product if the file is too dense or the placement is too large.
Here's the practical comparison:
| Method | Looks like | Strength | Main risk |
|---|---|---|---|
| Screen printing | Bold, graphic, flat color | Strong for simple art on suitable panels | Thick deposits can crack or feel rigid |
| DTF | Detailed, colorful, precise edges | Flexible for complex logos | Can feel applied on premium technical fabrics |
| Dye sublimation | Integrated, soft, low-profile | Excellent where fabric allows | Limited by material compatibility |
| Embroidery | Textured, elevated, tactile | Strong for subtle marks | Can affect panel feel and shell performance |
Practical rule: Choose the method that still looks good after friction, flex, and weather, not the one that wins on the first mockup.
Matching Print Techniques to Backpack Materials
The material decides what's possible. It also decides what's smart.
A lot of failed backpack projects come from using apparel logic on bag fabric. What works on jersey cotton or a smooth fleece doesn't automatically work on coated nylon, structured canvas, or rugged polyester. Backpacks deal with friction, moisture, shape retention, and heavier loads. The decoration has to respect that.
The market size alone tells you this isn't a niche product category. The global backpack market reached USD 22.4 billion in 2025 and is projected to reach USD 38.6 billion by 2034, with nylon holding a 39.1% revenue share in 2025, making it the dominant substrate for print-on-backpack projects according to DataIntelo's backpack market report.
Why fabric decides the method
600D polyester is common because it balances structure, durability, and print friendliness. It usually plays well with sublimation when the construction allows for it, and it can also support other decoration methods depending on coating and weave.
Ripstop nylon is different. It's durable and lightweight, but coated versions can be tricky. A method that looks acceptable on day one may lose points fast if it interferes with water resistance or adhesion. On technical bags, that trade-off matters more than the mockup.
Canvas can carry a more lifestyle look. It often handles embroidery well because the base has enough body to support stitching. But if the canvas is washed, waxed, or heavily textured, crisp printed detail can get less predictable.
If you're comparing fabric behavior in more depth, this overview of sublimation printing for apparel and compatible materials helps explain why polyester-based substrates open options that cotton and canvas don't.
A practical material matching table
| Backpack material | Usually works well | Usually needs caution |
|---|---|---|
| 600D polyester | Sublimation, selective screen or transfer methods | Heavy surface prints on flex-heavy panels |
| Ripstop nylon | Low-profile methods chosen for coated shells | Dense embroidery, methods that reduce water resistance |
| Canvas | Embroidery, simpler prints with a lifestyle look | Highly detailed prints on rough texture |
| Recycled synthetic blends | Method depends on finish and coating | Any technique chosen without testing the actual lot |
The last line matters more than most buyers think. “Recycled fabric” isn't a print method. It's a category. Surface finish, backing, and coating still determine whether your logo lasts.
Artwork and File Prep for a Perfect Print
Bad file prep causes expensive problems that people wrongly blame on production.
A fuzzy logo, a weird outline, muddy color, or a mark that sits too close to a seam usually starts upstream. You don't need to be a designer to avoid that. You just need to give production a file that can scale cleanly and a placement that respects how a backpack is used.
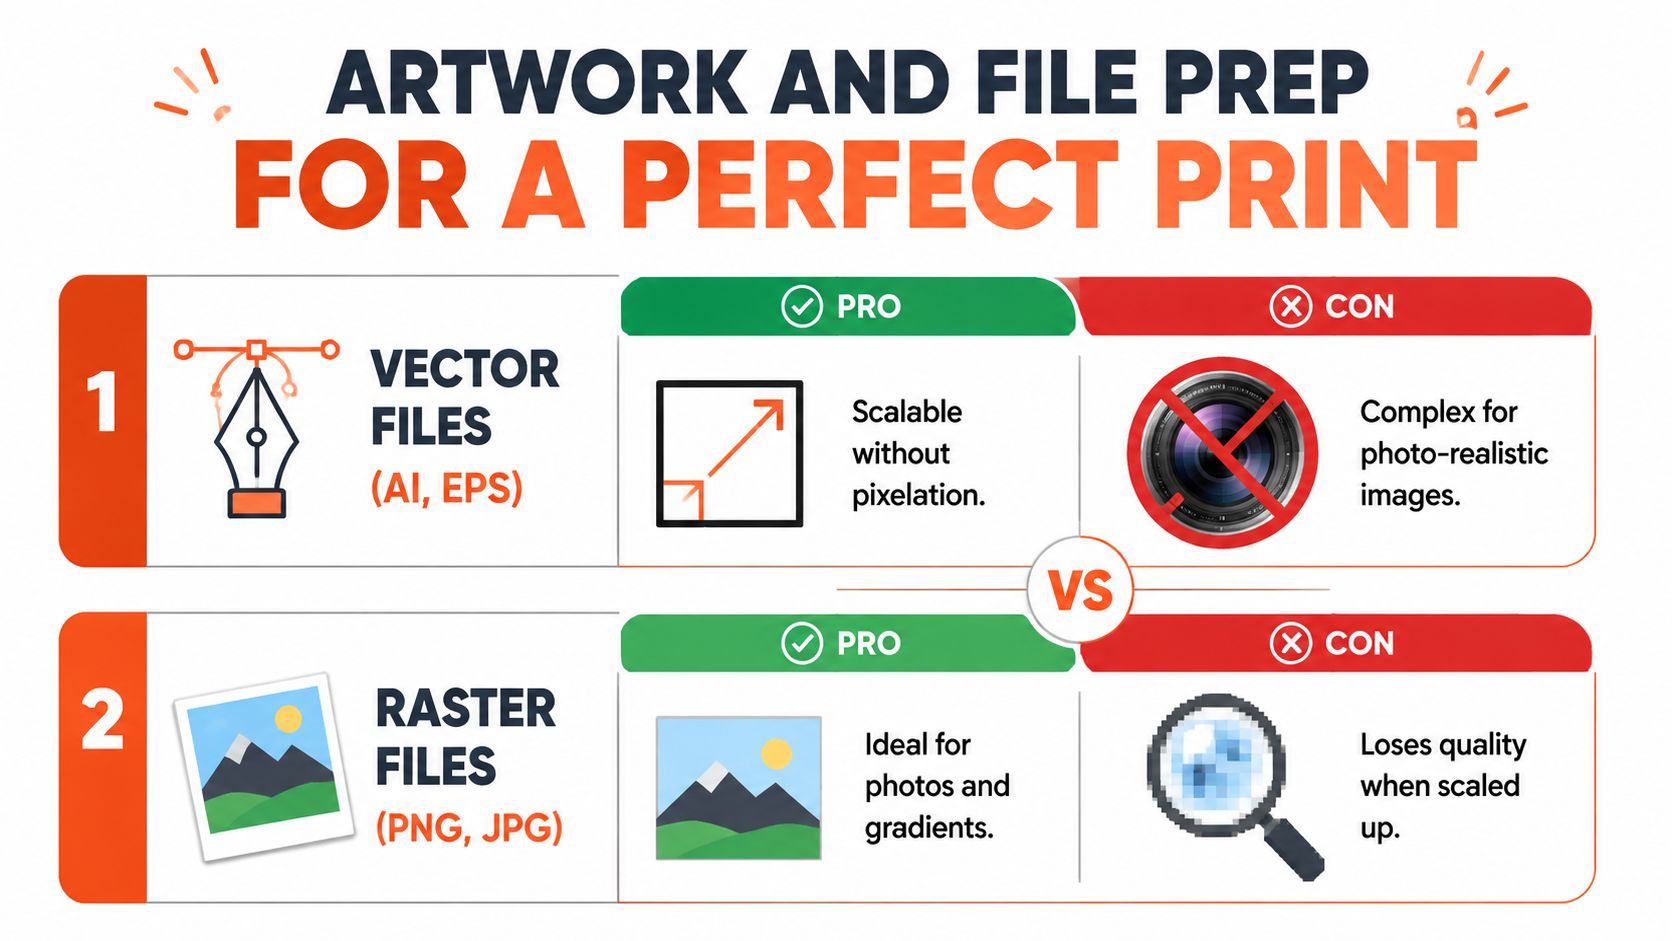
Vector first almost always
If you're printing a logo, AI and EPS files are the safest place to start. Vector art scales without getting soft, which matters when the supplier needs to resize, separate colors, or adapt the mark for a curved bag panel.
PNG can be okay for certain workflows, especially if the file is clean and large enough, but it's still not ideal for most premium production. JPG is usually the weakest option because compression artifacts show up fast on hard-edged marks.
Use this checklist before approval:
- Send vector artwork first. AI, EPS, or properly outlined PDF keeps edges sharp.
- Define brand colors clearly. If color match matters, specify your intended values early instead of hoping the mockup translates.
- Simplify tiny details. Fine lines and micro text that look great on Figma often collapse on textured fabric.
Placement is a durability decision
Most guides talk about “front center” like placement is only visual. It isn't. Placement affects wear.
Industry guidance notes that most content focuses on visibility but ignores how abrasion zones and load points degrade prints, and that logo placement should account for those stress areas so branding doesn't crack or fade after months of use, as covered in this travel accessory logo placement guide.
That means you should think about:
- Strap junctions: fabric tension and repeated movement make these bad logo zones.
- Bottom corners: they hit floors, car seats, and luggage bins first.
- Top grab area: constant hand contact wears finishes faster.
- Front center panel: often good, but only if the panel stays relatively smooth under load.
Put the logo where the bag keeps its shape. Don't put it where the bag does its hardest work.
A smaller, better-placed mark usually outlasts a larger one in the wrong spot.
Beyond the Print Details That Improve Your Merch
A founder signs off on a backpack sample because the front print looks clean. Three months later, the bag still functions, but the project feels cheap. The print held up. The rest of the bag did not.
That gap usually comes from trim and finishing, not decoration. Premium merch reads like product because every visible touchpoint agrees with the same design standard. Stock zipper pulls, glossy bargain-bin patches, loose label stitching, and flimsy packaging break that illusion fast.
Details people notice
The strongest upgrades are usually quiet:
- Woven labels: interior neck-label logic works here too. A clean side-seam or inside-pocket label adds brand presence without turning the bag into an ad.
- Patch applications: good for brands that want dimension, but patch edge finish matters. A merrowed edge feels different from a laser-cut edge, and the wrong one can cheapen a technical silhouette.
- Branded hardware: zipper pulls, cord ends, and custom tabs get handled every day. If you spend anywhere beyond the print, spend here.
- Packaging: a considered insert, protective wrap, and clean shipper help the bag arrive like a product launch. If you are pairing this with onboarding, PR mailers, or direct-to-recipient drops, your merch fulfillment services setup needs to protect those details instead of crushing them in transit.
These choices also carry content value. Teams filming a launch get more mileage from texture, hardware, lining hits, and unboxing moments than from a flat logo shot alone. For that side of the rollout, how to create product videos that convert is a useful reference.
Climate and use case matter as much as aesthetics. Raised embroidery can look strong on a sample and become a poor choice on coated nylon if the bag is headed into rain, humidity, or daily commuting. Needle holes can compromise water resistance. Thick stitched areas can stiffen a panel that should stay flexible. A patch can solve one problem and create another if the adhesive or sew-down method fights the shell fabric.
That is the trade-off premium brands pay attention to. The best backpack merch is cohesive. Print method, patch choice, hardware, label package, and packaging should all feel appropriate for the bag's material, price point, and how people will use it in everyday use.
Navigating MOQs Timelines and Fulfillment
Operationally, backpacks are less forgiving than tees.
The bag itself costs more, the decoration methods are more material-sensitive, and shipping gets heavier fast. That doesn't make the category difficult. It just means your quote, timeline, and fulfillment plan need to be locked before production starts.
The demand side is already there. The U.S. backpack market was valued at USD 5.30 billion in 2024, and the global eco-friendly backpack segment is projected to grow at a 10.79% CAGR, according to Mordor Intelligence's backpack market research. That lines up with what buyers are asking for now: better materials, recycled options, and merch that feels usable enough to keep.
What changes minimums
MOQ isn't just about the bag. It's about the entire build.
A plain stock backpack with a small standard application is one thing. A custom-dyed shell, special lining, woven label package, and multi-step decoration stack is another. Every added variable can change setup complexity.
Here's what usually pushes minimums up:
- Custom bag sourcing: non-catalog silhouettes take more coordination than stock blanks.
- Multiple decoration methods: combining print, embroidery, and patches adds steps.
- Branded packaging: inserts, boxes, and kitting create a different fulfillment workflow.
- Color-specific materials: custom trims and shell colors may require batch commitments.
Timelines break when the spec is vague
Most delays happen before production, not during it. Missing artwork, unclear placement, no approved sample, or a late packaging decision can eat the calendar fast.
For distributed teams, fulfillment planning matters as much as manufacturing. If you're sending to employees, creators, speakers, or customers in different countries, split shipping and inventory handling should be part of the original plan. This guide to merch fulfillment services for global teams is useful if your project goes beyond one office delivery.
A simple way to keep a backpack project clean:
- Lock the bag first. Don't debate decoration before the actual blank and shell material are approved.
- Approve art and placement together. A logo file without placement context isn't really approved.
- Decide whether this is bulk delivery or multi-address fulfillment. Those are different projects.
- Treat packaging as part of production. If it matters to the experience, it can't be an afterthought.
Backpack projects run smoothly when the team treats them like product launches, not office supply orders.
How to Choose the Right Merch Partner
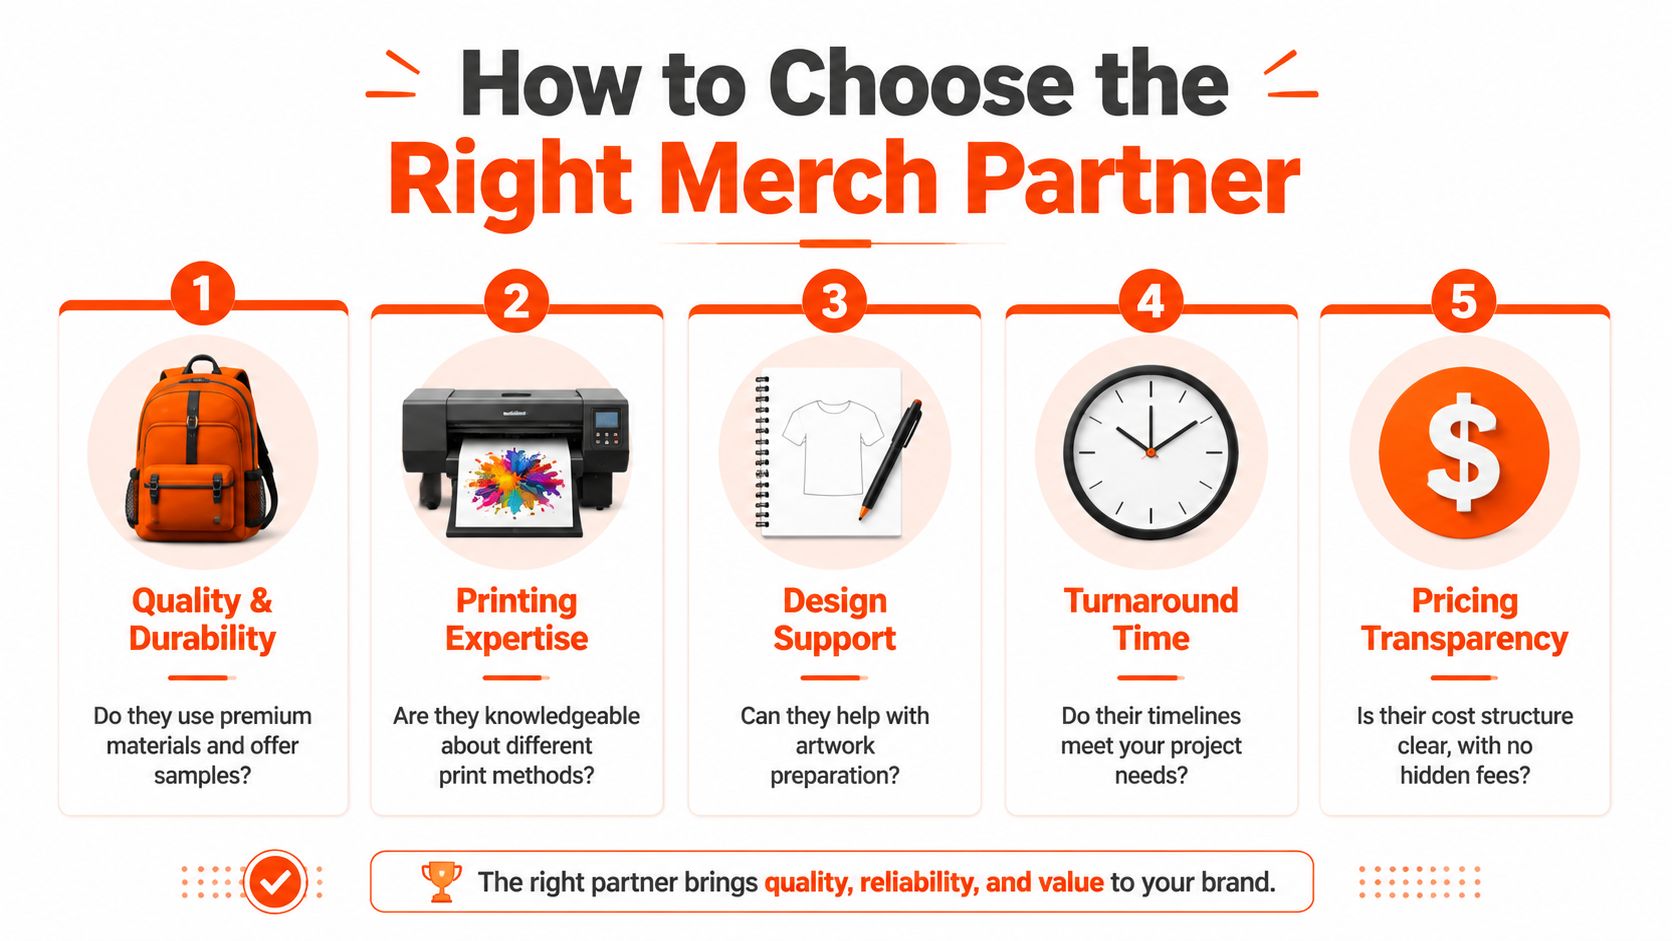
A backpack order reveals the gap between a vendor that prints logos and a partner that understands product.
The difference shows up fast. One team will approve a front-panel hit on a coated nylon shell because the mockup looks clean. A stronger partner will flag that same placement if the bag folds hard, rubs against jackets, or sits across a seam where the print will break down early. That judgment matters more than a slick sales deck.
Questions worth asking before you approve anything
Use the first call to test how they think, not just what they can quote.
- What decoration method would you choose for this exact fabric, and what would you avoid? Good answers are specific to the shell, coating, and use case.
- What is the failure point on this application? They should be able to talk about abrasion zones, flex points, seams, and coating adhesion.
- What will the sample prove? A real partner treats sampling as a stress test for print hand, placement, and finish quality.
- Who owns kitting, packing, and recipient-level shipping if this goes beyond bulk delivery? Production and fulfillment need one clear workflow.
A useful test is whether they can explain the downside of their own recommendation. Screen print can look sharp and hold up well on the right panel, but a heavy ink deposit on a high-flex area can feel cheap and crack sooner. Heat transfer gives cleaner detail on some synthetics, but the edge can become obvious on premium bags if the film sits too proudly on the surface. Embroidery adds texture and status, yet it can pucker lighter shells and create needle holes that are a bad idea on some coated fabrics.
What good partners do differently
Strong partners pressure-test the brief before they price it.
They ask what the backpack is for. Daily commute, conference handout, creator send, employee onboarding, retail-style drop. Those are different products with different durability standards. A bag meant to last through real use needs a partner who will reject decoration choices that photograph well on day one but age badly after friction, rain, and overstuffing.
They also understand the operating side. If your order is shipping to one office, almost any decent vendor can get it out the door. If it needs storage, custom inserts, size-specific kitting, and individual shipments across regions, the project shifts from production into fulfillment ops. PledgeBox's guide to fulfillment is useful context if your backpack run includes crowdfunding, preorders, or complex recipient shipping.
If you are comparing vendors across categories, this guide to choosing a team apparel supplier for modern brands is a good filter for how serious a partner is about materials, approvals, and execution.
The right partner should make four things clear:
| What to evaluate | What a strong answer sounds like |
|---|---|
| Material knowledge | They discuss shell fabric, backing, coating, and expected wear, not just logo dimensions |
| Decoration judgment | They explain the aesthetic result and the durability trade-off of each method |
| Sampling discipline | They require physical review or a production-grade sample, not mockup-only approval |
| Fulfillment capability | They can handle bulk delivery, kitting, and recipient-level shipping without improvising mid-project |
Price still matters. For backpacks, it comes after method judgment, sample quality, and operational control.
If you want to build backpacks that feel closer to product than promo, Banger is built for that. You can explore the catalog, request a quote, and get product previews within 24h to launch a team drop people will keep using.